
Disclosure: VPNFin is reader-supported. If you buy a VPN through links on this page, we may earn a commission at no extra cost to you. This never affects our ratings — here’s our full disclosure.
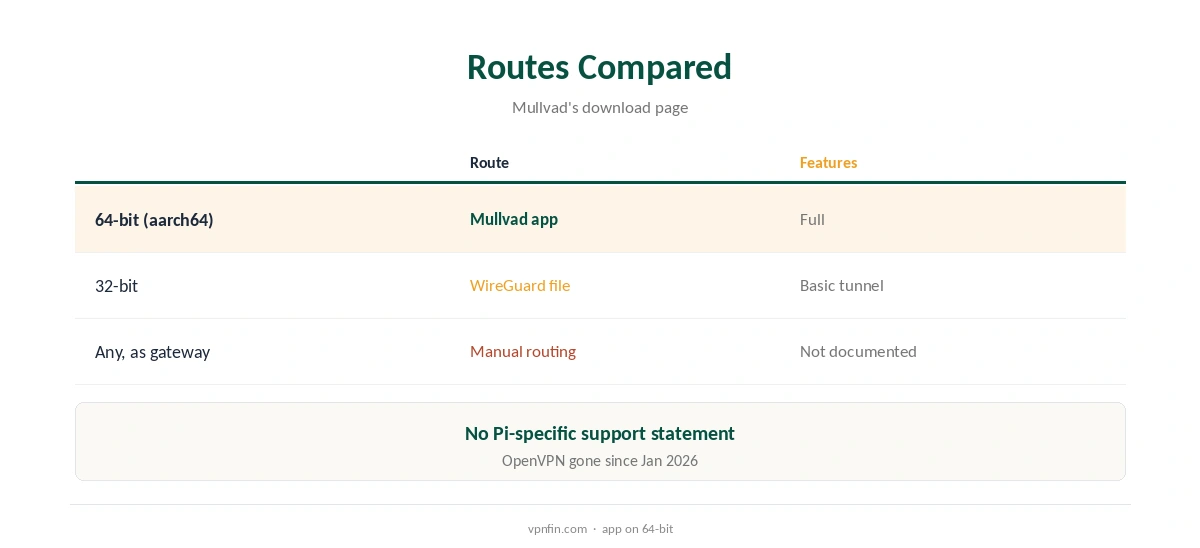
Mullvad Raspberry Pi setups have two routes. Mullvad publishes its Linux app for ARM64 Debian and Ubuntu through its own apt repository, and 64-bit Raspberry Pi OS is based on Debian, so the app should install there; we found no Pi-specific support statement. On any Pi, including 32-bit systems, a WireGuard file from Mullvad’s configuration generator works with the standard WireGuard tools. Since January 2026, Mullvad runs on WireGuard only.
This guide covers both routes, the command line, lockdown, keys and limits.
Which Route Fits Your Pi
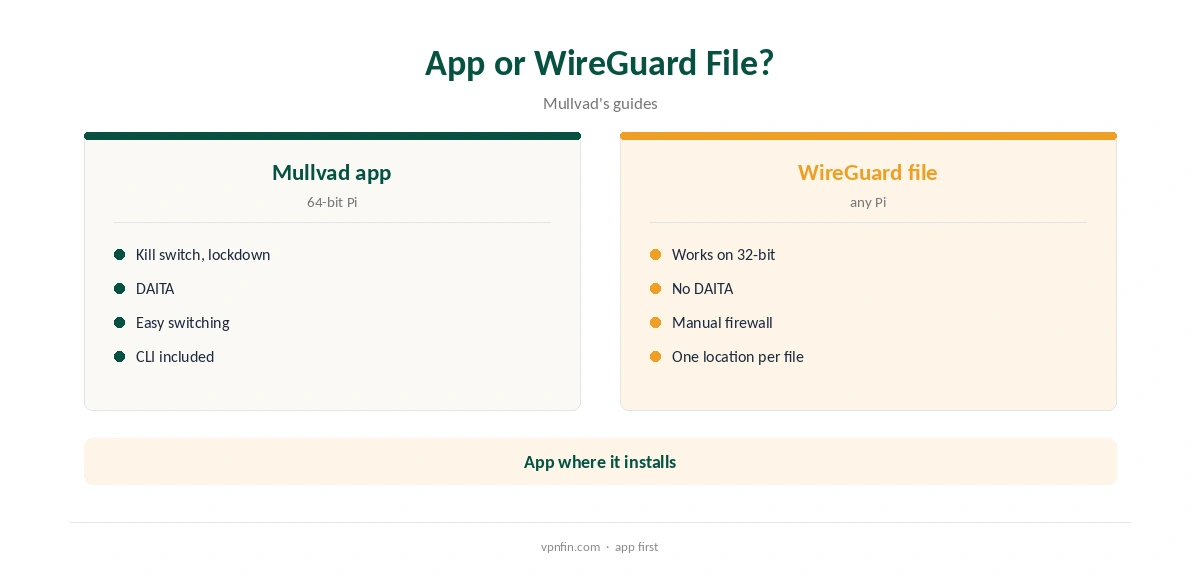
On a Pi 3, 4, 5 or Zero 2 W running 64-bit Raspberry Pi OS, try the Mullvad app first; it brings the kill switch, lockdown mode, DAITA and multihop. On 32-bit Raspberry Pi OS, Mullvad offers no ARM package, so use a WireGuard file.
Check with uname -m: aarch64 means 64-bit, and armv7l means 32-bit. Our Raspberry Pi VPN guide compares other providers’ ARM support.
Mullvad Raspberry Pi App Install
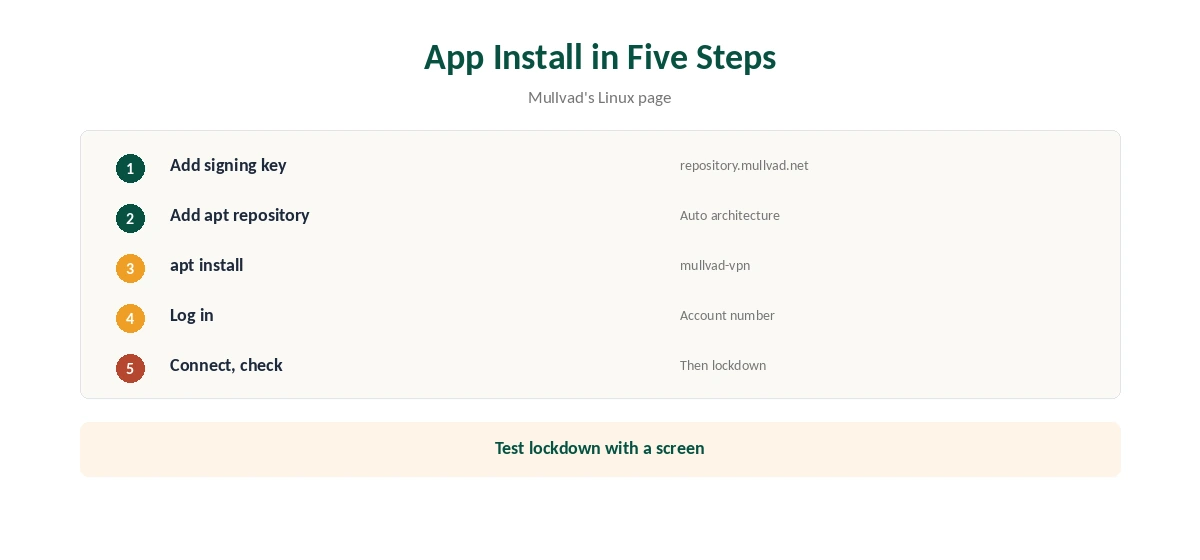
Add Mullvad’s signing key and apt repository as its Linux download page shows; the repository line picks your architecture automatically. Then run sudo apt update and sudo apt install mullvad-vpn in the terminal.
Log in with your 16-digit account number, connect from the command line or the desktop app, and check your public address. Each Pi uses one of your five device slots, shown in the app’s account settings.
The Command Line
On a headless Pi reached over SSH, the mullvad command connects, disconnects and shows status, as on other Linux systems. Lockdown mode, which blocks traffic whenever the VPN is off, can be set from the app’s settings.
Test lockdown with a screen attached first, since it can cut off SSH access if the tunnel fails. Our Mullvad Linux guide covers the app in more depth.
The WireGuard File Route
Generate a WireGuard file in your Mullvad account, choosing the Linux version and a location, and install the WireGuard tools. Import the file into NetworkManager or run it with wg-quick, as the ArchWiki’s Mullvad page describes.
A plain file lacks DAITA, multihop and the app’s kill switch, so add firewall rules if you need leak protection. Our Mullvad WireGuard guide explains the generator.
Using the Pi as a Gateway or Seedbox
Routing other devices through the Pi takes manual forwarding and firewall rules that Mullvad does not document; a router running Mullvad’s WireGuard file is simpler for whole-home cover.
For torrents, Mullvad has offered no port forwarding since 2023, so seeding suffers, though downloads still work well. Our Mullvad torrenting guide explains the trade-off.
Keys, Devices and Price
Every app login or generated file uses one of five WireGuard keys. Remove old devices in your Mullvad account page before adding a new Pi, or the login will ask you to remove one.
A router counts as one key but covers everything behind it, which can save device slots for phones and laptops. Our Mullvad router guide covers that route.
Checking It Works
After connecting, the mullvad status command shows the tunnel and location; confirm the public address from the terminal too. Repeat after a reboot to check the app reconnects on its own.
With a plain WireGuard file, check that DNS goes through the tunnel, as the ArchWiki’s Mullvad page advises, by setting the connection’s DNS priority. Our DNS leak guide explains the test.
Mullvad costs a flat €5 a month for five devices, with an account number instead of an email and cash accepted, its terms say, and has more than 10 audits in our table. Our Mullvad cost guide covers payment methods.
Speed and Extra Features on a Pi
WireGuard is efficient enough for a Pi, and newer models such as the Pi 4 and Pi 5 handle encryption faster than older ones. DAITA and multihop add overhead, so leave them off unless you need them.
A wired connection avoids the Wi-Fi limits of smaller Pis and keeps the tunnel noticeably steadier.
Removing It
Disconnect, turn off lockdown mode, then remove the app with sudo apt remove mullvad-vpn. Log the Pi out in your Mullvad account so its key no longer uses one of your five slots.
With a WireGuard file, bring the interface down, delete the file and its NetworkManager connection, and remove the key in your account.
Which Pi to Use
A Pi 3, 4, 5 or Zero 2 W can run 64-bit Raspberry Pi OS and the Mullvad app. Older models such as the original Pi and most Pi 2 boards cannot run a 64-bit system, so they need the WireGuard file route instead.
For a Pi that carries real traffic, such as a home server, a Pi 4 or Pi 5 with a wired connection is the comfortable choice.
How We Research
This page draws on Mullvad’s Linux download page and GitHub release notes, the ArchWiki’s Mullvad page, Mullvad’s terms and our Mullvad tables. We cross-checked these sources against each other, and where they conflict or something can’t be verified, we say so in the text rather than guessing. We checked time-sensitive figures, including prices in US dollars, on 8 October 2026. The main source we relied on is Mullvad’s Linux download page. Our full approach lives on the About Us page.
Mullvad Raspberry Pi FAQ
Its ARM64 Linux app should install on 64-bit Pi OS; any Pi can use a WireGuard file.
No ARM package for 32-bit; use a WireGuard file.
No; Mullvad runs on WireGuard only since January 2026.
It can block SSH if the tunnel fails; test with a screen.
Up to five devices per account.
The Verdict
A Mullvad Raspberry Pi setup is easiest with the ARM64 app on 64-bit Pi OS; any Pi can use a WireGuard file. Test lockdown with a screen attached.