
Disclosure: VPNFin is reader-supported. If you buy a VPN through links on this page, we may earn a commission at no extra cost to you. This never affects our ratings — here’s our full disclosure.
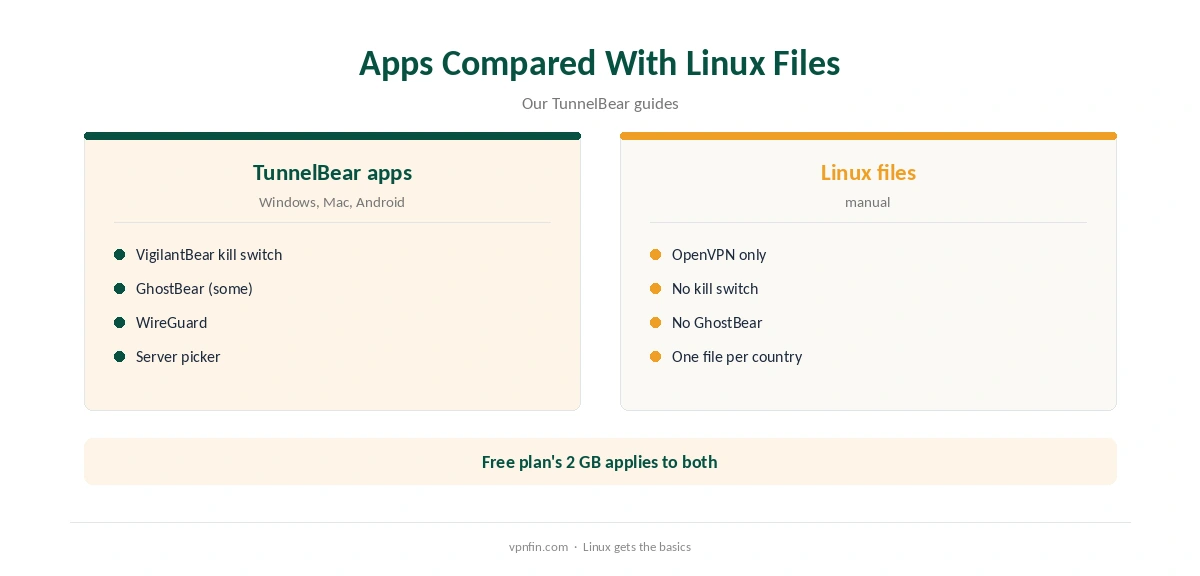
TunnelBear Linux means OpenVPN configuration files rather than an app. TunnelBear publishes a ZIP of OpenVPN files on its Linux support page, one per country plus certificates, and you sign in with your TunnelBear username and password. There is no graphical Linux client, no kill switch and no GhostBear, and the files do not cover IKEv2.
This guide covers the setup through NetworkManager or the terminal, the trade-offs and the checks.
TunnelBear Linux Setup
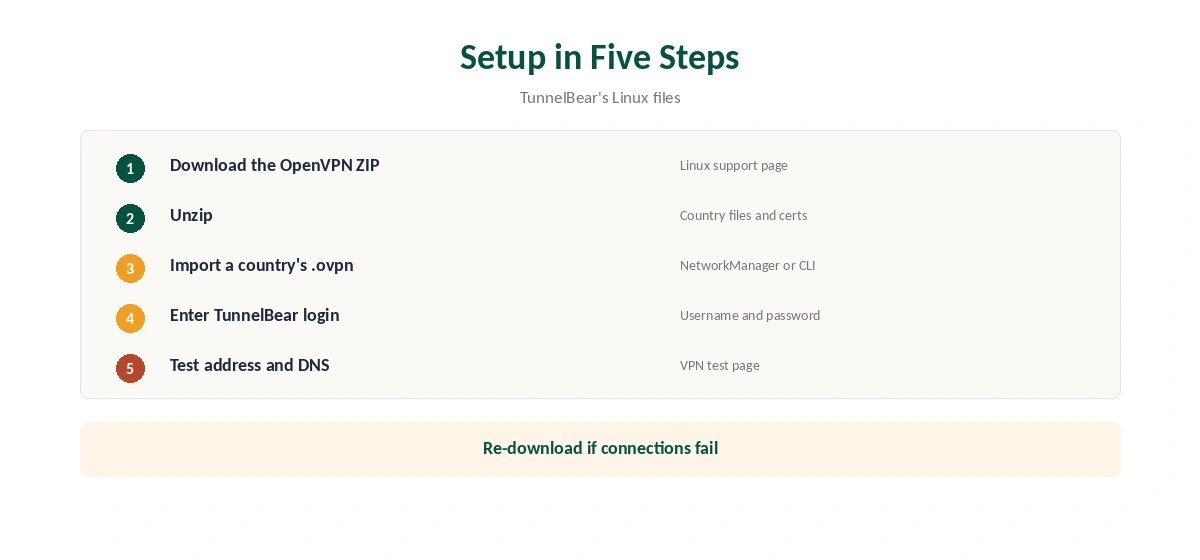
Download the OpenVPN ZIP linked from TunnelBear’s Linux support page and unzip it. Each country has its own .ovpn file, with certificate files alongside. Import a country’s file into your OpenVPN client, enter your TunnelBear login when asked, and connect.
Confirm the new address with our VPN test page.
NetworkManager or Terminal
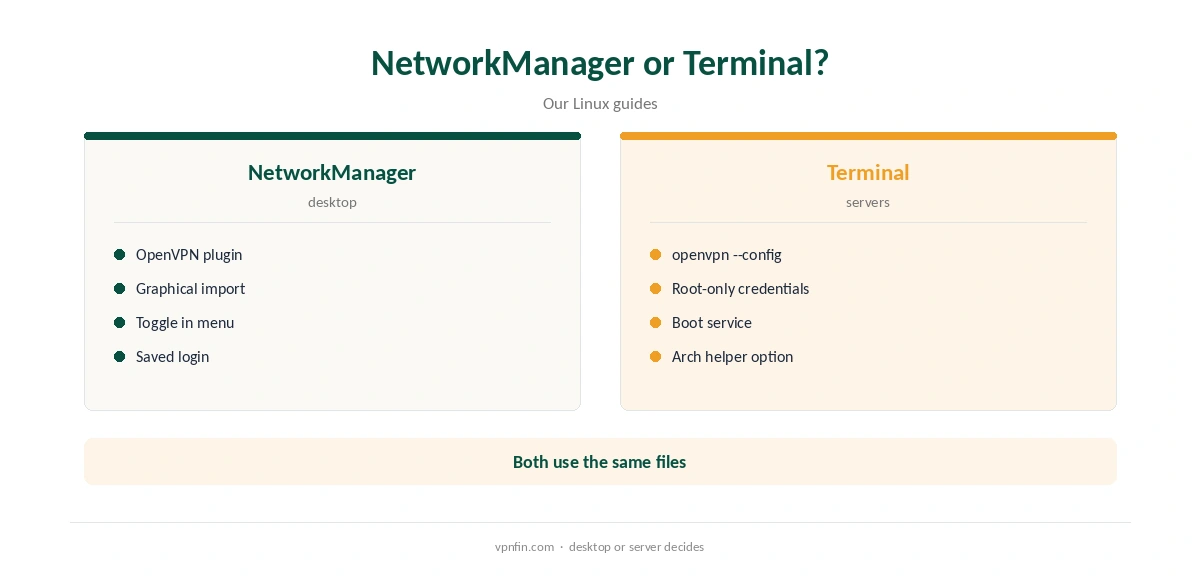
On desktop distributions, install NetworkManager’s OpenVPN plugin, then import the .ovpn file in the network settings and save your credentials. On servers, run OpenVPN from the terminal with the config and a root-only credentials file. A community helper on GitHub for Arch Linux wraps the files in systemd services, so you can start a country with one command.
What You Give Up
TunnelBear’s apps on Windows, Mac and Android include VigilantBear, its kill switch, and GhostBear on some platforms. A Linux OpenVPN connection has neither. Add firewall rules so traffic stops if the tunnel drops, as our kill switch guide explains.
TunnelBear Linux on Servers
On a server or Raspberry Pi, run OpenVPN as a system service with a credentials file readable only by root, so the tunnel starts at boot without typing. Pair it with firewall rules that block traffic outside the tunnel. Our Raspberry Pi VPN guide covers small always-on machines.
Choosing a Country
Each .ovpn file points at one country. Rename them to short names before importing, as the Arch helper’s notes suggest, so they are easy to pick. Keep a nearby country for speed and another for any service you use abroad.
Troubleshooting
If a connection fails, check the username and password first, then the system clock, since certificates fail on wrong dates. Read the OpenVPN log for the exact error. Users on some routers had to load each file with its certificates separately, a GL.iNet forum thread shows, so check that the certificates sit beside the config.
Is TunnelBear Linux Enough?
For light use on a Linux laptop or a small server, the files cover the basics. For a full desktop experience with a kill switch, a provider with a Linux app is easier.
TunnelBear Linux and IPv6
If your network uses IPv6 and the config does not route it, traffic can bypass the tunnel. Disable IPv6 on the VPN connection or system-wide while connected, then run a leak test. Our IPv6 leak guide explains the risk.
Quick Check
After connecting, run ip a to confirm the tun interface is up, then open our test page. Disconnect the network briefly; with firewall rules in place, traffic should stop rather than fall back.
A Quick Rule
Desktop? Import the files into NetworkManager. Server? Run OpenVPN as a service with root-only credentials. Either way, add a firewall kill switch, since the TunnelBear Linux route has none built in.
TunnelBear Linux and Raspberry Pi
The same OpenVPN files run on a Raspberry Pi with Raspberry Pi OS. Use the terminal route with a boot service, and keep the 2 GB free allowance in mind if the Pi downloads much. Our TorGuard Raspberry Pi guide shows a similar setup with another provider.
Several Countries
Import two or three country files and give each a clear name. Switching then takes one click in NetworkManager or one command in the terminal, which keeps the TunnelBear Linux route almost as convenient as a full graphical app would be.
Turning It Off
Toggle the connection off in NetworkManager, or stop the OpenVPN service in the terminal. Our guide to turning off a VPN on Linux covers the commands.
Free Plan on Linux
The 2 GB monthly free allowance counts manual connections too. Unlimited removes the cap and sets no device limit. Our TunnelBear pricing guide covers the plans.
Keeping the Files Current
Server details and certificates change over time. If a connection stops working, download the ZIP again and replace your files.
Checking for Leaks
Run our DNS leak guide after connecting. If requests still go to your provider, set DNS on the connection or in the OpenVPN client.
TunnelBear’s Record
TunnelBear has had annual Cure53 audits since 2017 and belongs to McAfee, our tables record. Its free plan gives 2 GB a month, and Unlimited sets no device limit. Our TunnelBear safety guide covers the full picture.
Related Guides
Our TunnelBear OpenVPN guide covers the files in more detail, and our Linux VPN guide compares providers with full Linux apps.
How We Research
This page draws on pcWRT’s TunnelBear guide, the tunnelbear-helper project on GitHub, forum reports and our TunnelBear tables. We cross-checked these sources against each other, and where they conflict or something can’t be verified, we say so in the text rather than guessing. We checked time-sensitive figures, including prices in US dollars, on 7 October 2026. The main source we relied on is pcWRT’s TunnelBear OpenVPN guide. Our full approach lives on the About Us page.
TunnelBear Linux FAQ
No. It publishes OpenVPN configuration files instead.
Linked from TunnelBear’s Linux support page, as a ZIP.
Yes, with the OpenVPN plugin and an imported .ovpn file.
No; add firewall rules yourself.
Yes; manual connections count toward the 2 GB allowance.
The Verdict
TunnelBear Linux works through OpenVPN files, not an app. Add a firewall kill switch, test for leaks and keep the files current.